How to Apply Nail Wraps for Your Perfect Manicure
Want a friend on the inside?Add us on Facebookto always stay in touch.
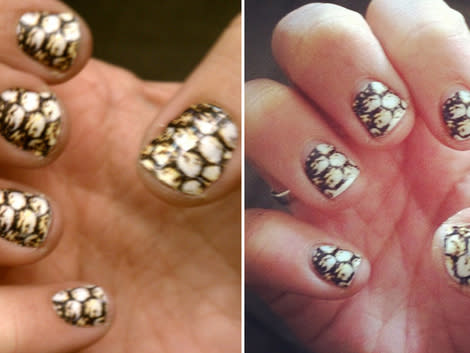
Our favorite thing since sliced bread, nail wraps have made our lives totally easier. It's no secret that we're suckers for a good manicure, but unfortunately our skill level when it comes to nail art is nil. Nail wraps make our nails pretty, while ensuring a chip-proof, smudge-free application.
We got the chance to sit down with Zoe Pocock, Founder/Creative Director of Nail Rock, to get a step-by-step tutorial for applying nail wraps to ensure they have maximum impact.
Start with room temperature hands
Who knew! If your hands are too cold or too warm, the nail wraps may not stay put for the full 10 days.
Use acetone to clean your nails
If anything (including hand cream) is left on your nails the wraps will start to peel off.
Try to avoid cuticles
The best thing to do is to give yourself a manicure before you apply the wraps, but if you're in a rush just make sure to push down you cuticles so the stickers don't stick to them instead of the actual nail.
Use a nail file to take off excess material
This is always the trickiest step. Some nail wraps are thicker than others, so people assume they have to cut off excess material. But if you simply file on top of the extra material and shape the wrap over the top of the nail your wraps should stay on for the full 10 days or longer!
Zoe's favorite nail wrap tip?
Make each finger nail different!
Our former JTM, Marie Cravens, has been rocking her Nail Rock wraps since New Year's Eve! She even gives weekly updates on them, thus proving their longevity.
More from Beauty High:
• Product Obsessions: Rita Hazan Root Concealer
• The Best in Self-Adjusting Clear Foundations and Makeup
• What I Learned in Only Two Days at P&G
• Summer Product Must-Haves from Our Fave Beauty Bloggers
• Behind the Scenes of Katy Perry's ghd Campaign
