Red is so Last Year! Merry Manicures to Try for the Holidays
By Kerri Winick for GalTime.com
Looks like Santa has it right... red is always one hot holiday color, especially when it comes to your nails!
But red, while you've had one heck of a sleigh ride, now it's time to move on over! You're no longer the only game in town. Celebrity nail artist Jin Soon Choi says non-traditional looks are tops for 2011. Dark, vampy colors, metallics, and even jazzy nail art (rhinestones, anyone?) all make for a merry manicure. Here are some ideas that are guaranteed to turn heads, courtesy of Choi and our friends at CND. (Some require a few extra steps, but the end result is absolutely worth it!)
The Special Effects Nail:
Apply one layer of base coat.
Apply two coats of your favorite navy blue shade, or any dark color that strikes your fancy. (Try: Sally Hansen Navy Baby, or OPI Russian Navy.)
Add some sparkle and shimmer on top using your favorite "special effects" polish. Look for words likeglitter, sparkle, pearl, shimmer, and crackle. Some of our favorite at GalTime are Nails Inc. Magnetic Polish (tiny particles in the polish create a pattern on the nail using magnetic forces), Nails Inc. Special Effects 3D Glitter Polish, Zoya Nail Polish in Rina or Kissy, Deborah Lippmann Collection in Happy Birthday, and CND Effects.
Try two or three effects blended, swirled, dabbed, or stroked on top of your base color. Top it off with top coat. Choi says the look is fresh and modern.
Related: Dress Up Your Fingers in Nail ART
THE METALLIC HALF-MOON NAIL:
Joanna Mastroianni Fall 2011, courtesy of CND
Apply one layer of base coat.
Apply 1 to 2 coats of opaque silver or gold polish to your entire nail. Wait for the polish to dry completely. (Try: Butter London The Full Monty, or CND in Gold Chrome or Silver Chrome)
Take a reinforcement sticker (yep, the kind you used in your 3-ring binder), and place it over the bottom of each nail. The sticker should mimic the "half moon" shape at the base of your nail. You can make your moon as large or small as you'd like, but try your best to keep it consistent.
Paint two coats of a dark, vampy polish like black, maroon, or navy, on the top half of your nail.
Apply top coat to seal the look.
Related: Secrets to Making Your Manicure Last
Find these stickers at your local drugstore.
THE BLACK DIAMONDS NAIL:
Image courtesy of CND
Apply a thin layer of base coat.
Apply two layers of black polish. (Try: CND Blackjack, or OPI Black Onyx.)
While the polish is still tacky, use tweezers to pick up individual black crystals, which you can find at your local arts and crafts store. Line the crystals up on each nail.
Finish with a layer of top coat.
For a lighter look, try silver polish as a base, and use clear crystals.
THE METALLIC GLITTER NAIL:
Image courtesy of CND
Apply a thin layer of base coat.
Apply two thin layers of a deep, dark shade, like black, navy blue, or slate gray.
Grab your top coat. While nail polish is still tacky, dip the tip of the brush into gold glitter* and brush on 1/3 of the nail, starting from the cuticle area. Clean the brush thoroughly. (*CND suggests using fine craft glitter, and says Martha Stewart makes the best!)
Dip the tip of the brush into copper glitter and brush on slightly below the first color, melding the two colors together. Clean the brush thoroughly.
Finally, brush on silver glitter, melding all the colors of glitter together. (Don't forget to clean the brush again!)
Apply one final layer of top coat to seal and protect.
Related: Celebrity Nail Stylist Answers YOUR Questions!
THE FISHNET NAIL:
Image courtesy of CND
Apply one thin layer of base coat.
Apply one layer of a creamy, rose-beige, like CND Desert Suede. For a more sheer look, dilute the polish with a bit of top coat.
Using a detail brush, create the fishnet pattern with black polish. (You can find this type of brush online, or at any beauty supply store.)
Place clear crystal stones where each of the fishnet lines meet.
Finish with a layer of top coat.
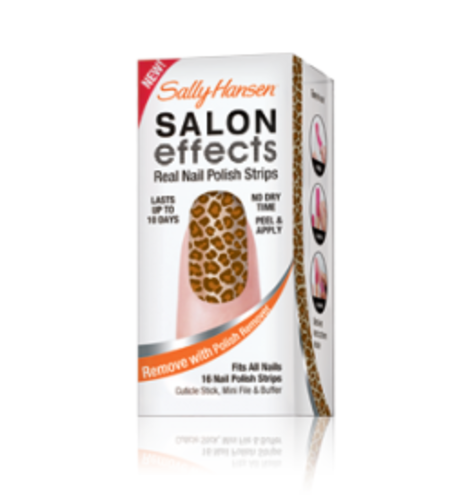
THE PRESS-AND-GO NAIL:
More from GalTime:
Double Duty Beauty Products
The Secret to Stay-Put Eye Makeup
The HOTTEST New Beauty Products
Do-It-Yourself Beauty
