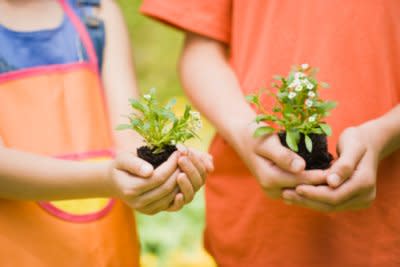
Easy Herb Garden

Spark your child's interest in science with our easy herb garden.
By Jean Gorman
Your child can learn a wide variety of lessons and derive enjoyment from watching something grow by working on a planting project with you.
"Through gardening, kids will begin to learn how to observe and document -- two essential skills related to scientific inquiry," says Sara Wilford, director of the Early Childhood Center at Sarah Lawrence College in Yonkers, NY. "Tending to the herbs also encourages nurturing qualities and patience as your child waters, fertilizes, and trims the plants."
Before planting, learn what each herb needs to thrive, then help your child select a spot with the appropriate amount of sunlight, and agree on a watering schedule. Older children can boost the learning experience by keeping a journal. Encourage your child to measure and draw what he sees as the plants grow.
"Payoff time comes when your herbs are mature enough for you and your child to pick and use in a dish together," says Wilford. "Ask him if he can identify the different flavors, then savor the meal with your whole family."
Materials
• Seed packs of 3 or 4 different herbs, such as oregano, mint, sage, and thyme
• 3 or 4 peat cups, 2 in. by 2 in.
• Soilless growing medium (try a 50-50 mix of sand and peat moss)
• Spray bottle and watering can
• Fish emulsion fertilizer
• 3 or 4 terra cotta pots, 6 in. wide by 7 in. deep, and a long terra cotta tray
• Poster paint in white and various colors, plus waterproof sealer
• 3 foam brushes, 2 in. long
• Small sponge
• Vellum
• Chopsticks or popsicle sticks
• Small scissors
• Trowel
• Craft knife
• Potting soil
• Glue
• Complete fertilizer
To Make the Project
1. Let your child sow 4 or 5 seeds of one type of herb in a peat cup filled with fine soilless growing medium. For oregano and thyme, your child can simply press the seeds gently into the surface of the soilless medium; for the mint and sage, he should cover the seeds with 1/4 to 1/2 inch of it. (Note: If you would prefer not to start from seeds, you can buy small herbs at a garden center and transfer them to the pots or grow plants from cuttings or root divisions of herbs in your garden.)
2. Place the germinating peat pots in a warm, sunny spot (ideally, full southern exposure), and ask your child to keep the surface moist but not soggy by spraying it with water once or twice a day for the first 3 or 4 days, advises Travis Smith, garden coordinator for the Berkeley Unified School District in California. After a week, add a tablespoon of fish emulsion fertilizer to a quart of water, and use the spray bottle to water the seeds until they sprout. (Oregano and thyme germinate in 10 to 21 days, sage and mint in 7 to 14 days.)
3. In the meantime, have your child prime the pots and tray with a 2-inch foam brush and white poster paint. (Only the outside of the pot and about 1 inch of the inner rim should be primed and painted.) Let dry. Mix a peanut-size dollop of blue paint with a tablespoon or so of white to get a pale blue color, and brush onto one of the pots. For other shades, repeat the process, using violet, green, or turquoise mixed with white. Let dry. Encourage your child to add texture to the pots by dipping the edge of a sponge in white paint and then randomly pressing over the painted surface and rubbing to blend. Brush the pots with waterproof sealer when dry.
4. For a tag, cut a 6-inch by 1-inch piece of vellum (waterproof paper). Fold lengthwise over the end of a chopstick or popsicle stick, and seal with glue. Have your child write the name of the herb on the vellum with a permanent marker. Repeat for each herb.
5. After the seeds have germinated and plants reach a height of about 1/2 to 1 inch, remove all but the strongest seedling by cutting the weaker ones with small scissors at the surface of the medium. Let the plants grow in the peat pots for 4 to 8 weeks before transferring them to your painted pots.
6. When the plants are ready to transfer, cut off the bottom of the peat pot with a craft knife, and then have your child place it in the pot, which should be partially filled with potting soil mix. (The peat pot will disintegrate over time.) Help your child to add more soil to barely cover the peat pot, being careful not to raise the soil level at the base of the plant.
7. Ask your child to water the soil every second or third day. Feed once a month with a balanced, complete fertilizer, following the manufacturer's instructions on the package.
Used with permission. © Copyright Meredith Corporation.
